 |
Before Start |
|
|
Know More |
|
|
Just Do It! |
|
|
Appendix |
|
|
Help->Know More->Manage Audio
Audio can be managed when "Audio" is checked from
Image/Audio
Transform
-
IphotoDVD support both WAV and
MP3 formats
-
Click "Add" from the "Editorial
Shortcuts" to launch the following window
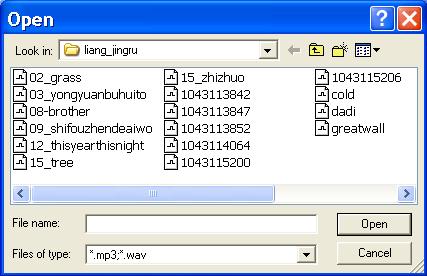
-
Search and select the wanted
audio, then click "Open" from the above window
-
Repeat Step 2 and 3 to import
all the wanted audio
-
Audio can be also added by
Open an existing project.
-
Click "Remove" from the "Editorial
Shortcuts" to remove the selected Audio
-
Click "Clear" from the "Editorial
Shortcuts" to remove all the audio without selection
-
Choose audio by clicking the
audio file
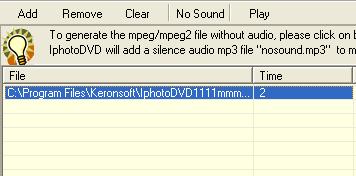
-
Click "Play"
from the "Editorial Shortcuts"
and be sure your microphone is ready
When audio is selected, the
conversion is the same as converting
photos.
|


